Most edge banding defects come from four causes: wrong glue temperature, cold boards or edges, worn trimming tools, and low-quality edge compound. Check glue temperature and spread first, keep material above 18 °C, sharpen tools, and buy edges with a quality primer and low filler content.
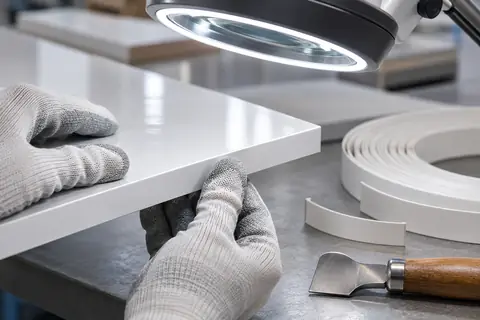
Quick diagnosis
| Problem | Likely cause | Fix |
|---|---|---|
| White line after trimming | High filler content, blunt scraper | Use edges with low filler; sharpen or replace radius scraper |
| Visible glue line | Too much glue, glue colour mismatch | Reduce spread; match glue colour; consider PUR or laser edge |
| Edge peels off | Cold board, missing primer, glue too cold | Warm boards to 18 °C+; check primer; raise glue temperature |
| Gaps at ends | End-trim timing, edge shrinkage | Adjust end trimmer; use low-shrinkage compound |
| Colour mismatch with board | Batch variation, different light source | Approve a master strip; check under D65 light |
| Chatter marks on edge | Worn cutters, vibration | Replace cutters; check spindle bearings |
Whitening after trimming
When a radius scraper cuts into a PVC edge, cheap compounds with lots of chalk filler show a white, stressed surface. The fix is a better compound plus sharp tools. All our edges are formulated for “no whitening after trimming”.
Peeling and weak bonding
In cold workshops the board and edge steal heat from the glue before it wets the surface. Store materials indoors for 24 hours before processing and keep the glue within the manufacturer’s range, usually 180–200 °C for EVA.
Colour mismatch
Colour drifts when each order is produced against a new sample. Approve one master strip, store it away from light, and ask your supplier to check every batch against it with a spectrophotometer, as we do.